Saturday, January 28, 2012

Easy Banner Tutorial

In honor of the NY Giants big win, (and because my husband and boys are EXTREME Giants fans) I decided we needed something fun for the Super Bowl. I have always wanted to make a banner, so I thought this would be a perfect excuse to try. It was EASY! I am shocked at how simple some of these things are that I am trying. I always looked at things and thought "Oh, I couldn't do that even if I wanted!" Until now...;)


Here are the things you need:

-Material cut into 12 triangles.
-Material cut into 12 squares or rectangles 4 1/4" X 3 1/4 "
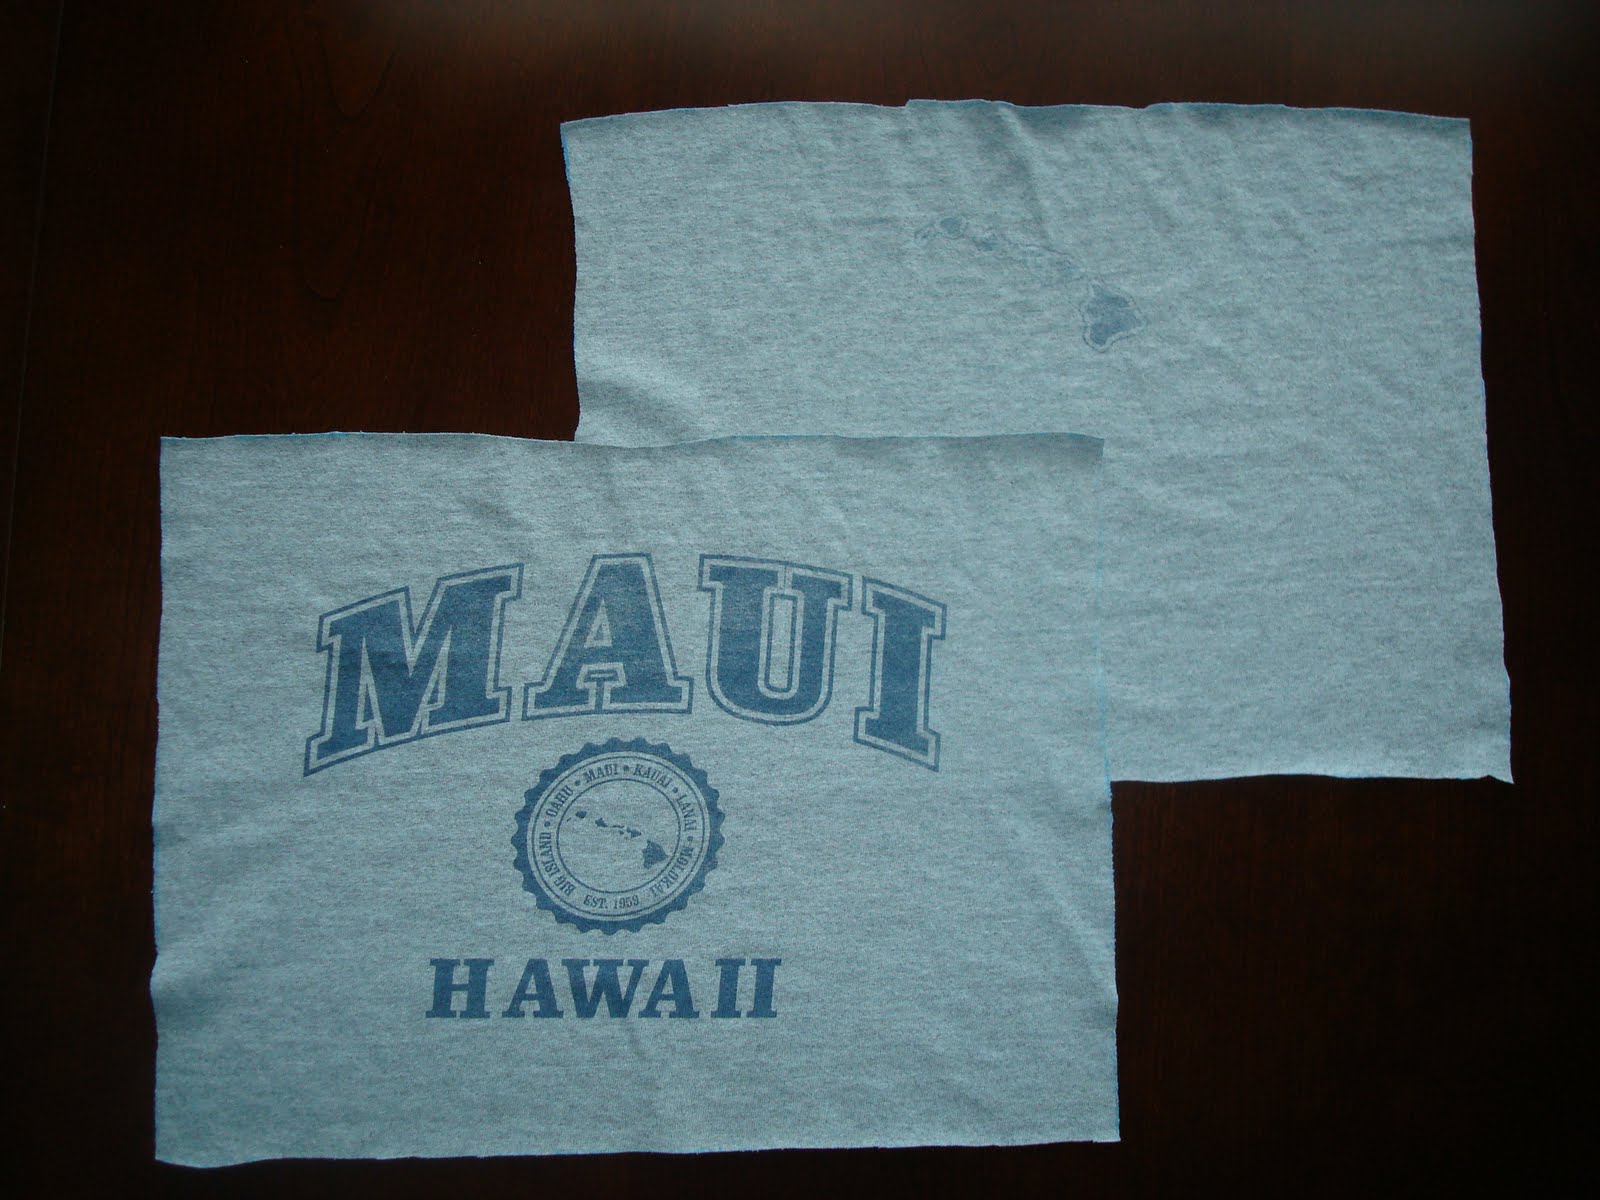
-Material for your logo
-Fusible adhesive (This is the stuff you use to do applique and iron on decals)
-Logo of your favorite team!

*Note: For my triangle template I just used an 8.5" X 11" paper and drew lines from the top corners to the middle of the bottom paper and cut out a triangle. Like this:
(Sorry, it is hard to see!)


Step 1:

Print out your logo, cut it out, and trace BACKWARDS on the paper side of some fusible adhesive.
Step 2:

Iron on your adhesive to the WRONG side of your fabric you are using for the logo and the squares you are going to put the logos on. with the PAPER SIDE OUT. Cut out after you have ironed on the fusible adhesive. (In the picture I have the sticky part of the adhesive against the fabric and the paper side against the ironing board. Make sure you iron the paper side!)

Now you should have this:
Step 3:

Ironing all of the pieces together.

Start by peeling the paper off the back of the squares, and then iron them into place. After you have done that, peel the paper off the back of the letters and iron them into place in the squares you just ironed on.
Step 4:

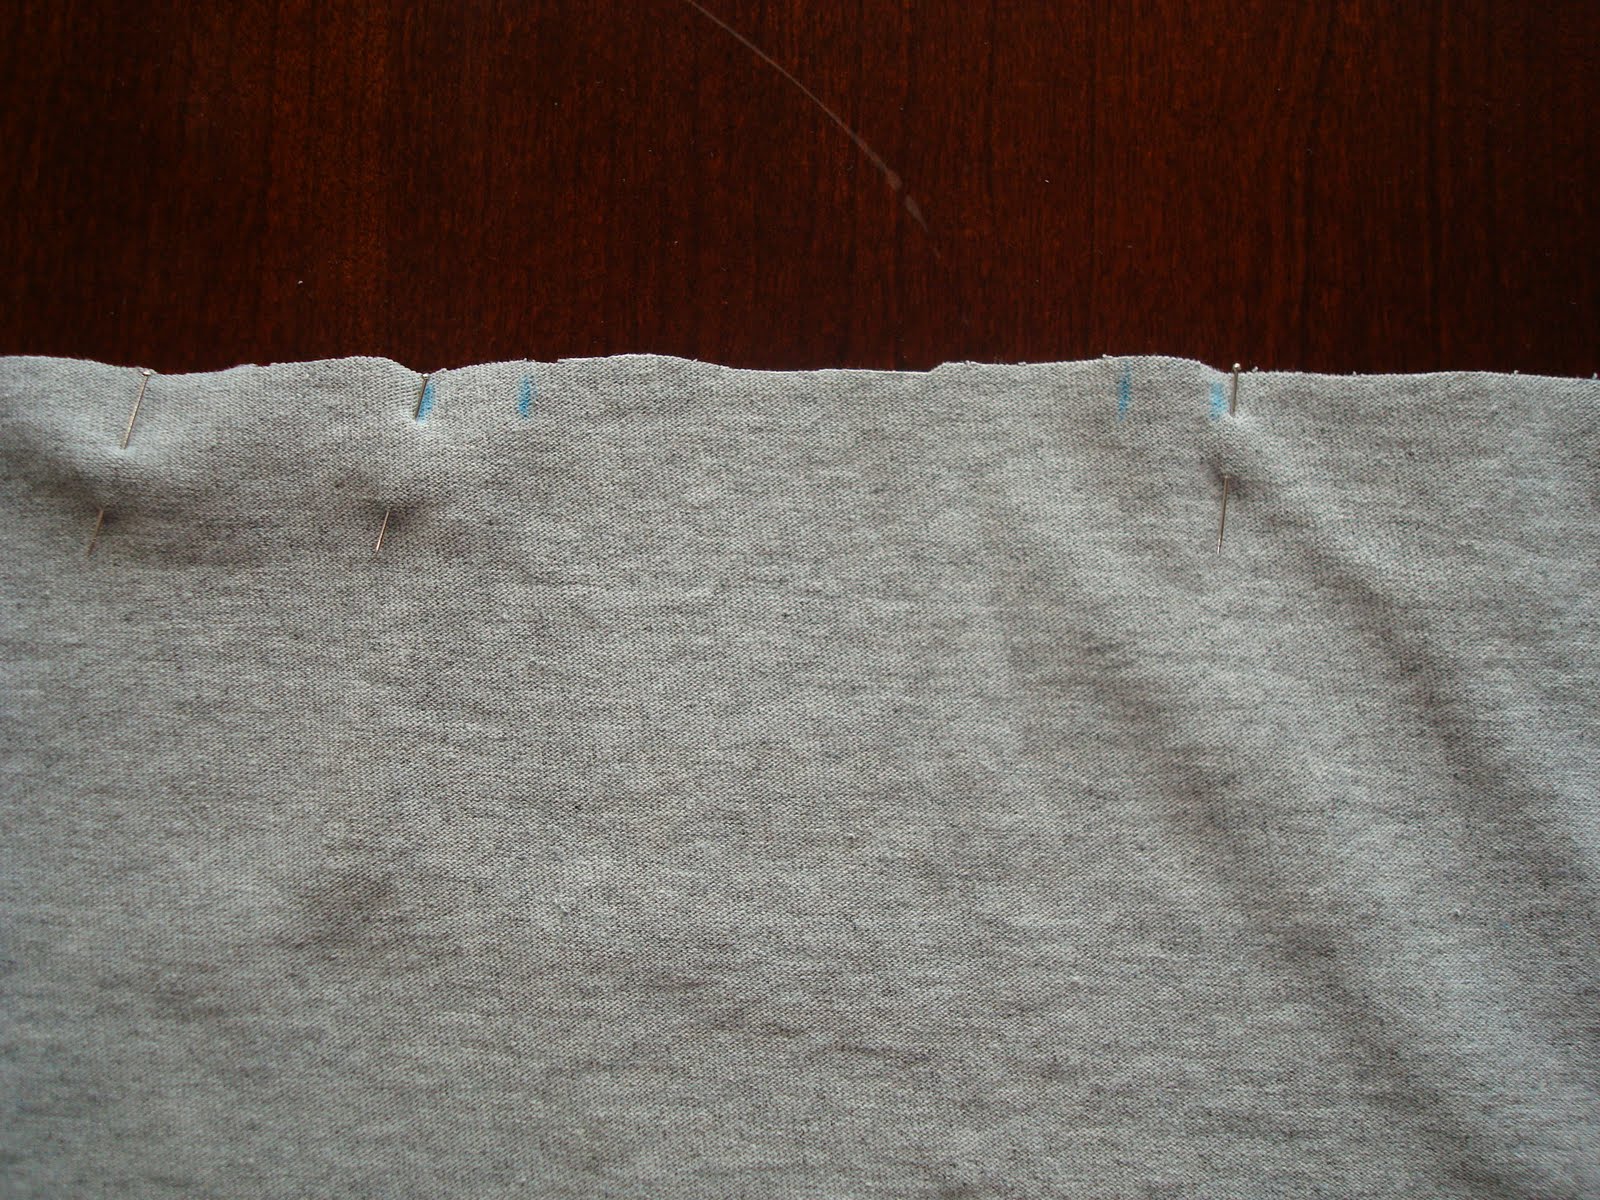
Pin the flags in place.

* NOTE: I used a piece of quilt binding that was 3 yards long and 7/8" wide. I chose it because it was wide and it gave me lots of room to work with.

Start by laying out all of your flags in a straight line with the top corners touching each other. Leave about 1" hanging off the end of the banner. Now sandwich the quilt binding over the tops of the flags making sure the flags are pushed clear up into the crease of the binding. pin them in place.

Step 5:

Add loops to the ends of the banner.

Get some twine or cording that is about 5" long. Double it and knot the ends together.
Now fold the end of your quilt binding in about 1/4".


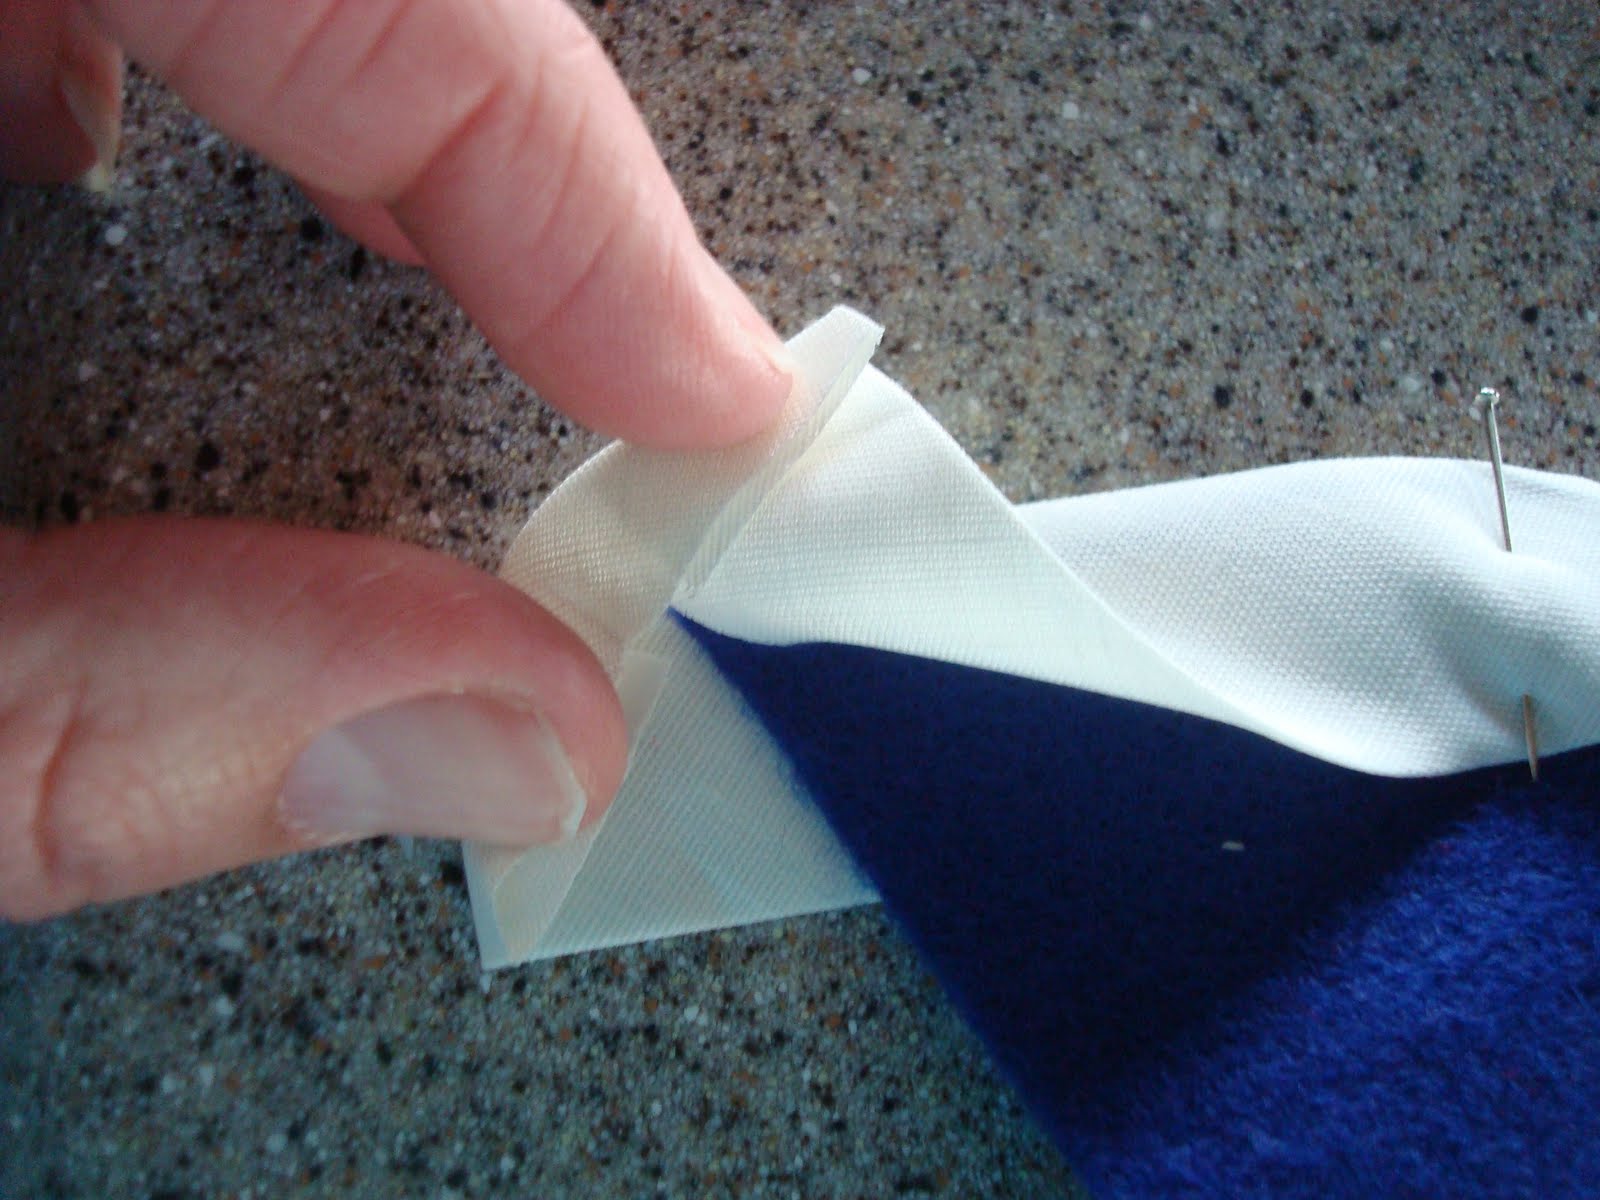
Fold the sides under on the same diagonal as the flag.
Now take the loop you just made and place the knotted end in about 1/2" in and tight against the crease.
Step 6:

Sew it together!

Start by sewing the end of the banner closed and the loops in place. *Make sure to back stitch!*
Now sew your flags in place leaving about 1/4" allowance from the edge that is against the banner.
Now you have a fun banner to celebrate your occasion!
Here it is on my entertainment center. I pinned the middle up for a little extra swag, you could add another loop here if you wanted.

Friday, January 27, 2012

Follow, Follow, Me!

If you like what you see, let me know! I would love to hear feedback......I am always curious to hear what other people think. You can always follow my blog or hit the Stumbleupon button on the right. (It is the orange one that says "Submit" next to it.) Thanks!

-Carrie-

Thursday, January 26, 2012

Memory T-shirt Pillow


Do any of you have a favorite T-shirt? I do....I have two. I got them about 4 years ago when my Hubby and I went to Hawaii. (I am one of those people......you know the ones who buy a T-shirt that has the place they vacationed on it? Yep. That is me!) I love these two shirts. I sleep in them, clean in them, do yard work in them, and have the occasional late night grocery run in them. But the thing that I love most about them is the memories they bring back of that AWESOME vacation with my sweetie! But sadly, they are starting to see the end of their life.....so I thought I would re-purpose one of them into a memory pillow!

Here is my favorite T-shirt:

Here is why I just plain old have to stop wearing it:
(Thanks to my five year old for modeling! Better his armpit than mine!)

Okay- Let's get started! If you made the pot holder this will be a breeze!

Step 1:

Cutting your T-shirt

-Measure what part of the T-shirt you would like to cut out. I had to cut them in two separate pieces because the picture I wanted to include on the back didn't line up with the stuff on the front of the shirt. If your T-shirt is blank in the back just cut them both out at the same time.)

-My measurements were 15" X 11" (Depends on how big your shirt is and how big you would like your pillow.)
Step 2:

Sewing it together.

Place the right sides of the fabric together and pin all the way around. Leave about a 3"- 4" gap so you can turn it right side out. I tried to mark where I wanted to leave it open with my fabric marker. It is kind of hard to see, but you get the idea.

Sew with a 1/4" - 1/2" seam allowance, depending on how much fabric you have to work with.

Step 3:

Trim around your corners and turn your pillow right side out. Push out the corners.
Step 4:

Stuff with Poly-fill.

I used the cheap stuff from Walmart, but you might want to use the nicer stuff so it isn't too lumpy.
Step 5:

Blind stitch it closed.......Okay don't get scared. I didn't know how to do it either until I asked for help. Thanks to my dear sweet neighbor who loves to sew, she told me how to do this. EASY. that is how I describe it!

Here we go:

Get your sewing needle and thread it. Tie a knot at the end of the string. Insert the needle directly under and to the side of the place where you stopped sewing with your sewing machine.

Like this:
Next insert the needle in and out of the fabric on the opposite side where you inserted the needle:
Now do the same thing on the other side. Make sure you are inserting your needle right by where the thread is coming out. This will keep it nice and snug and clean looking.
Remember to keep your fabric turned under as you sew.

When you get to the end gently pull the thread so it pulls the seam nice and tight.

Here is a picture before I tightened it up:
After I tightened it up:
(Not the best picture...but you get the idea.)
Now you are left with your needle and string. Simply knot your sting right next to the end of your blind stitch, insert your needle into your pillow and have it come out a few inches away toward the center.


Pull the thread tight, trim it off with scissors right where it comes out of the pillow. Be careful not to accidently cut the fabric!

Your sting should pull back into the pillow and you now have a beautiful memory T-shirt pillow!

Wednesday, January 25, 2012

Ric-Rac


Look at this cute ric-rac! I can't wait to use it! I have a few ideas......we will have to see how they turn out!

Saving Your Front Door

So this might be something that is common knowledge to the crafting world, but I just recently discovered what a life saver fleece can be. I am talking a life saver to my front door!! I love to hang stuff on my door.....who doesn't? The only problem with that is what ever is hanging on my door scratches it! (The same thing happens with my garland on my railing.) This summer we had to refinish the front door. What a pain! Until one day I was roaming around the fabric store (looking for a sewing machine) when I ended up by the soft cozy fleece. Then the idea dawned on me that I could glue some of this on the back of my door hanger and wreath! DUH! Why didn't I think of that 5 years ago when we bought our house?

It is so easy!

Just cut a strip of fleece the width you need to cover your door hanger, or what ever is rubbing on your door and hot glue it in place. Yep. It is that easy. Nice, huh?


I know that it isn't straight, but I had my 9 year old daughter help me......that is how simple it is!

Tuesday, January 24, 2012

Easy Pillowcase Tutorial


You know that feeling you get right before you try something for the first time? You know- the one that makes you feel like you probably shouldn't even bother trying something because you are probably going to mess it up? I had that feeling before I started this pillow. ( I know what you are thinking...........It is just a dumb pillowcase- a rectangle that is sewn one three sides and open on one end.)

Well I am happy to say that I didn't listen to that feeling and I did a great job! I even came up with the "pattern" (Do you really need a pattern for a pillowcase?) all by myself. It was so simple! I don't know why I was even nervous to begin with. I think that it was the lady that was cutting my fabric for me in the fabric store- she said that I should never "wing it" and always use a pattern. So far my "wing-it" patterns have turned out pretty cute- (I know.....I have only made a pot holder and a pillowcase- but still!) I am guessing that if you are a self taught sewer, there is a lot of wing flapping!

Okay- enough of the rambling........

Supplies you will need for a STANDARD SIZE PILLOWCASE:

-One piece of fabric cut 27" X 19" on the fold for the main part
(This means if you unfold your fabric it would be 54"X38")
-One piece of fabric cut 10" X 19" on the fold for your end piece
-Iron

*TIP: I just used a standard pillow case I already had to come up with my own measurements. You can do the same thing! It was easy! Here is a picture of the pillowcase I used to measure and my fabric:


Step 1:

Fold your "end piece" of fabric in half and iron a fold in it.


Step 2:

Place your "end piece" and your "main piece" of fabric with the right side of the fabric together with the 38" lined up together. Pin and sew (remember to back stitch!) with a 1/2" seam allowance.


Step 3:

Iron the seam you just created. This will give you a nice clean and crisp edge.


Step 4:

Lay your fabric so that the wrong side of the fabric is facing up. Now fold your "end piece on the crease you ironed into it and tuck it under 1/4" to 1/2" (depending on how much fabric you have to work with) and pin it in place. Sew the folded edge down using a 1/8" seam allowance.


Step 5:

Pin the outside pieces together with the right sides of the fabric facing each other. Remember to leave the "end piece" open. (It would be hard to put your pillow in if you sewed that end shut. Ha ha! Sorry.....lame joke!) Now sew those three sides together with a 1/2" seam allowance.


Step 6:

Trim the extra fabric around the corners. Make sure you are careful not to cut the seam!


Step 7:

Turn your pillowcase right side out and enjoy! (You can press your seam again if you would like before you turn it right side out.)

Monday, January 23, 2012

Beaded Letter Accent Piece


So I spent my weekend making pot holders. It was a lot of fun! Needless to say, my mom and sister are set on pot holders for the next little while. When I got done sewing, I thought that I should give the sewing machine a rest, and try something else. So off to Hobby Lobby I went with a few ideas in mind. The result of my trip?..................A new accent piece to add to my home decor! This was both CHEAP and EASY!!! (And cute!)

Here is what you need:

-Small beads (or anything that is small that you can glue to a wooden letter)
-A letter $1.99 at Hobby Lobby
-Black spray paint (or any other color)
-Glue gun
- About 30 minutes


I think this one is pretty easy for you to figure out on your own, but I will show you what I did anyway.

Step 1: Spray your letter with black spraypaint and let it dry.


Step 2:

Start gluing the beads on (or what ever you are using) to the letter.
Be careful not to use too much glue! It will show around your beads and look sloppy.


Step 3:

Find a place to put it!

I had a hard time deciding where to put it-

It looked good here:


It even looks cute in my Christmas wreath! The options are endless! Have fun and let me know how it goes!


P.S. This would be really cute hanging from a cute ribbon!