
Okay now you do it!
Here goes nothing.......my first tutorial! I would love to hear from you if you decide to take on this task yourself and I would love to see how it turned out! Success or failure! We are in this together!
STEP 1:
Materials
2 pieces of cotton fabric that are cut to 8 1/2" X 8 1/2"
1 piece of cotton fabric cut to 2 1/2" X 6 1/2 "
2 pieces of Insul-Bright flannel that are cut to 8 1/2" X 8 1/2"
1 piece of thin batting cut to an 8 1/2" X 8 1/2" square


Step 2:
Prepping fabric:
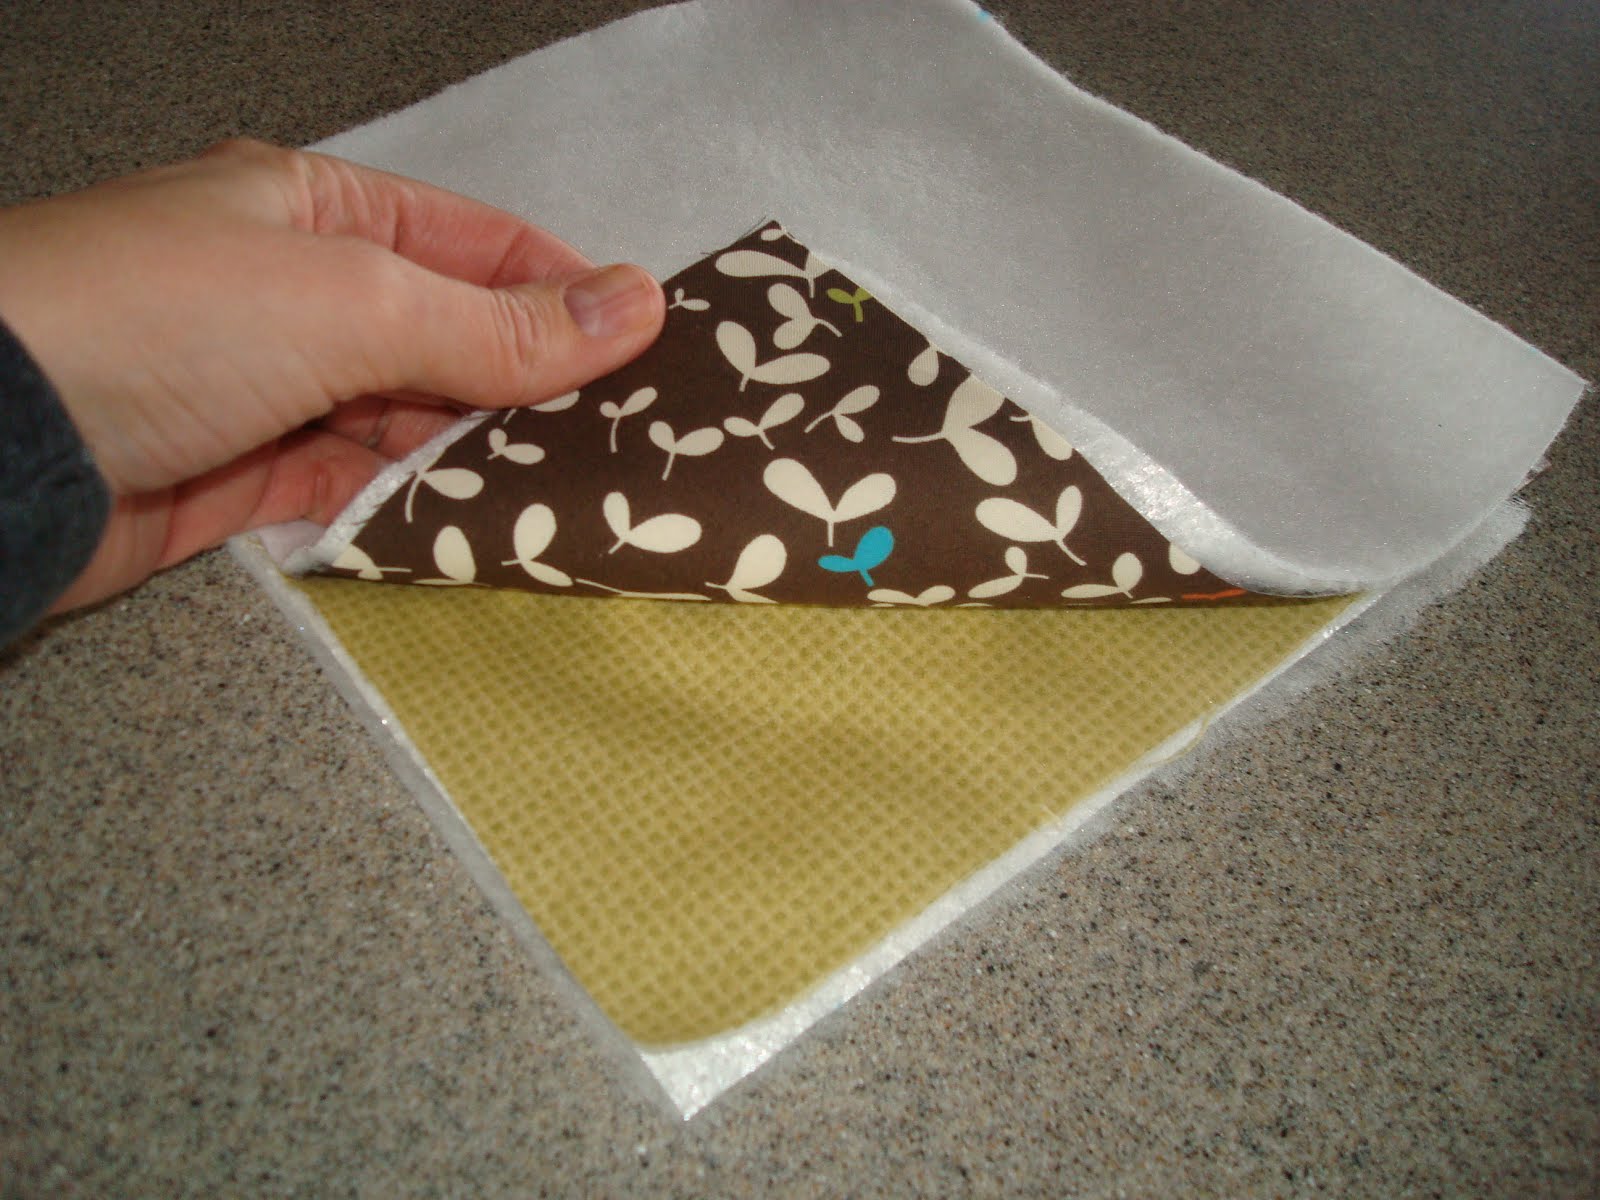
Now that you have all of your fabric cut and ready- it is time to piece it together! Start by turning your cotton fabric over so the pretty side is down.

Now place the Insul-Bright flannel with the shiny side down(against the fabric).

Next place the square of batting on one of the squares.

Next put the two piles of fabric together so that the pretty sides of the fabric are facing each other and the flannel and batting are on the out side.
Now you are ready to pin it together! Place pins about 1"-2" apart on 3 of the 4 sides.

When you get to the last side you want to leave about a 3" gap opening so you can turn the pot holder right side out. I marked where it should be in the picture:

Fold the the 2 1/2" X 6 1/2 piece of fabric in half so the pretty side is facing the middle and pin it together.

Step 3:
Sewing it together
Now we are at the fun part!
TIP:
Before we start sewing I would like to share with you one tip that I have read over and over in blog land. That is the importance of "back stitching." Basically what that means is when you start to sew, after the first few stitches, you put your sewing machine in reverse and stitch backward 3-6 stitches over what you have just done, and then you start sewing forward again. This helps "lock" the stitch and keeps it from coming undone.
Okay- you remember the 3" gap we left on one of the sides of the potholder? The edge of the gap will be our starting point. Line up the edge of the foot to your sewing machine with the edge of the pot holder and let the edge be your guide. That will give you about a 1/4" allowance for your seams. *REMEMBER TO BACK STITCH YOUR FIRST FEW STITCHES!*

Sew a straight line until you are about 1/4" away from the corner. We are going to turn the fabric so we can sew down the next side. When you have to turn a corner turn your sewing machine wheel until the needle is all the way down. Once you have done that, lift the foot of your sewing machine and turn your fabric with the needle holding your place. Like this:

Now do the same thing all the way around your pot holder and end on the other side of the 3" hole. *MAKE SURE TO BACK STITCH YOUR LAST FEW STITCHES!* It should look something like this:

Turn your potholder right side out now. I had to push and pull a little harder than I thought, but surprisingly the stitching held together. (Thank you back stitching!) I used a pencil to stick inside once I had it turned right side out to really make the corners a nice shape.

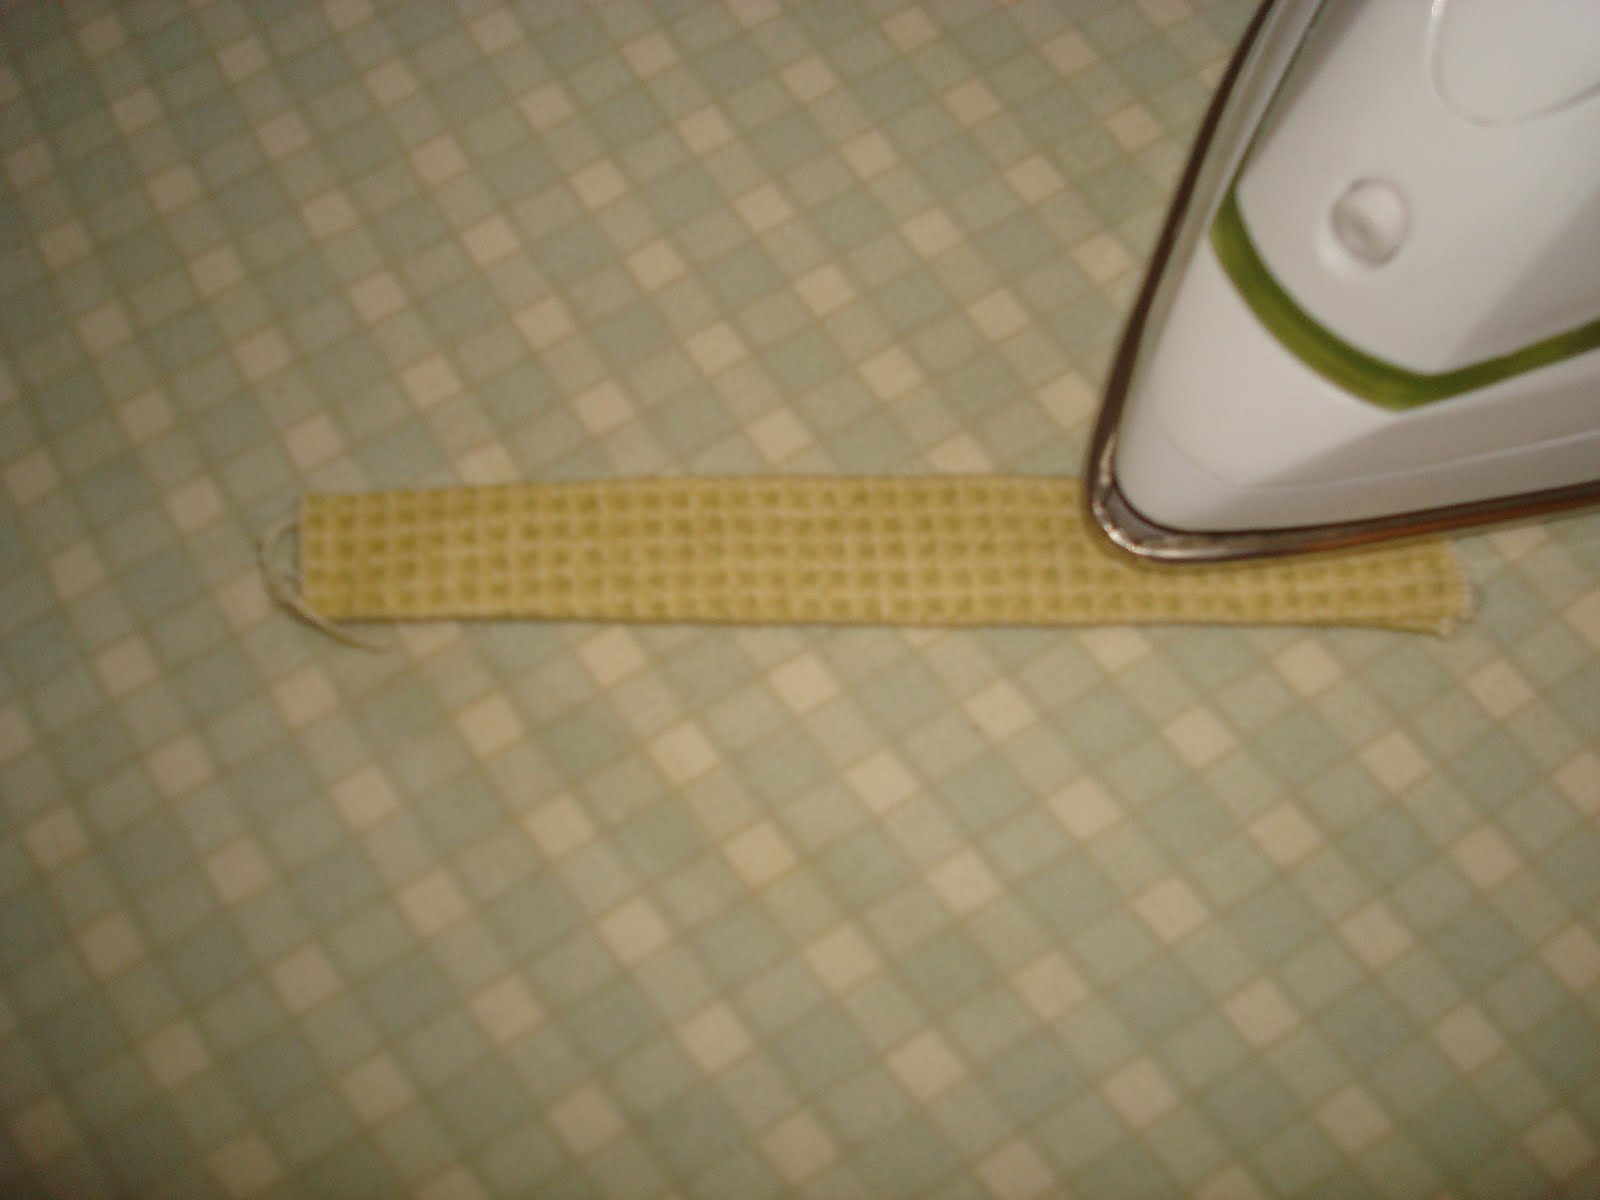
Next stitch your 2 1/2" X 6 1/2" strip of fabric closed using the foot to your sewing machine as a guide like you did before. Note: in this picture my strip is smaller than the one I told you to make. I should have made it the same size as the one I have in the instructions. Don't forget your back stitches at the beginning and the end!

Use a pencil or something else that is small to help you turn your fabric right side out It should look like this when you are done stitching and turn it right side out:

Iron it flat. I had the seam on one of the edges.
Step 4:
Closing the hole.
It is now time to close the hole and attach the loop. This is a 2 in one step.
Take the edges of the 3" opening in the pot holder and turn each side inward 1/4" and pin it closed.

While you are pinning it closed, you will loop the strip (I have the seam in the back) and insert the ends into the opening. Pin it in place as you are pinning the hole closed. (Make sure it is centered.)


Now start at one of the corners of the pot holder and do a 1/4" stitch all the way around the potholder like you did before. This time it will close up the hole and stitch the loop into place. After you have done that you should have this:


You can stop there, or do what I did. I sewed vertical lines that were 1" apart so it has a quilted look.

I love that you started a blog!! I always thought I could sew and come to find out, I'm really bad at it! Did Kristin ever show you the blankets we made for our husbands?? LOL, good story and good memories!!! I haven't seen you or your kids forever! Next trip we'll all have to hang out for sure!! Keep on sewing and learn the right way to do it, I wish I had!!
ReplyDeletePS, I've always wanted to learn how to sew good ruffles. If you learn, I'd love to see!!
ReplyDeleteThanks for poppin' on over to see my blog! I will work on the ruffle thing- I love ruffles! So many cute possibilities!
ReplyDelete